ESXI on RPI Guide
ESXI on RPI - A gentle introduction to host your own IT

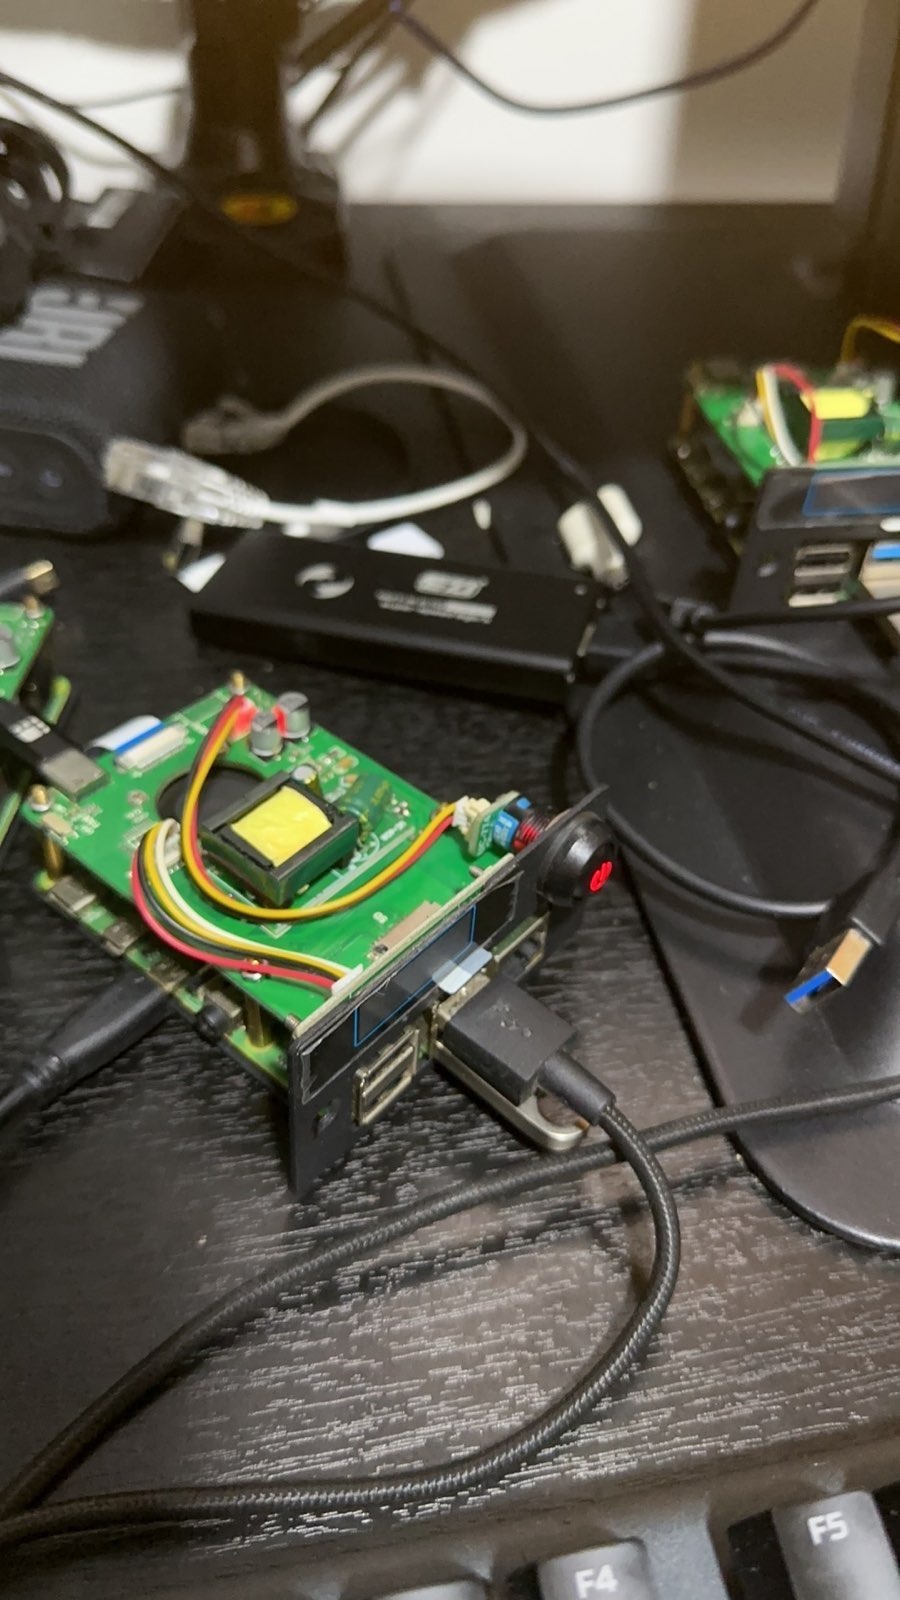
RPI4 with a PoE hat with a rackmount from uctronics
Introduction
If we talk about a cluster, we need to mention Seymour Cray, parallel computing and the effort made to provide a clear set of concepts that are the basis of any modern implementation, but since the time that was envisioned to the actual days, the expectatives are beyond the line, simplifying the cost, adding accessibility and breaking the barriers to experiment with supercomputers.
What is ESXI?
ESXi is a robust bare-metal hypervisor that installs directly onto your physical server. With direct access to and control of underlying resources, VMware ESXi effectively partitions hardware to consolidate applications and cut costs. It’s a key component of VMware’s vSphere, which is a virtualization platform that transforms data centers into aggregated computing infrastructures that include CPU, storage, and networking resources.
Using VSphere
VMware vSphere is a virtualization platform that transforms data centers into aggregated computing infrastructures that include CPU, storage, and networking resources. The two core components of vSphere are ESXi and vCenter Server. ESXi is the virtualization platform where you create and run virtual machines and virtual appliances. vCenter Server is the service through which you manage multiple hosts connected in a network and pool host resources. vSphere manages these infrastructures as a unified operating environment, and provides you with the tools to administer the data centers that participate in that environment.
You can use vSphere with Tanzu to transform vSphere into a platform for running Kubernetes workloads natively on the hypervisor layer. With this functionality, you can enable a vSphere cluster to run Kubernetes workloads by configuring it then as a Supervisor. DevOps engineers and application developers can then run containerized applications on vSphere Namespaces by deploying vSphere Pod, VMs, and upstream Kubernetes clusters through Tanzu Kubernetes Grid with vSphere. You can deploy a Supervisor on vSphere Zones to provide high-availability to your workloads at cluster level as one vSphere Zone maps to one vSphere cluster. Workloads that you run on a Supervisor deployed on zones are distributed on the vSphere clusters that are part of the zones and are protected against cluster-level failure.
Requirements
- Ethernet Router 5 ports x1
- RaspberryPi-4 8GB x5
- SD Card 16GB x5
- USB Storage 32GB x5
How to?
Worker preparation
-
Download ESXi for ARM from VMWare site, be sure to validate the checksum and download the corect version for ARM, in this case aaarch64 architecture for RPi.
-
Download the latest version of Raspberry Pi Firmware and UEFI Firmware
-
In case that you require to update the eeprom download the Raspberry Pi Images Tool
-
Extract the content of Raspberry Pi Firmware on a separate folder, then delete all the files starting with kernel*.img on firmware-master/boot, then extract all the resources from UEFI Firmware, and copy the content on firmware-master/boot, replace the current existent files.
-
Prepare the micro SD card, update the eeprom if it’s required, then format the card as exfat.
- On Windows you can use diskpart:
DISKPART> list disks // List availabel disks on system DISKPART> select disk X // Select disk number DISKPART> clean partitions // clean all the previous partitions DISKPART> create partition primary // Create a primary partition DISKPART> format fs="exfat" quick // Format that partition with exfat DISKPART> assign letter X // Assign letter to actual partition in drive - On Unix you can use diskutil or dskutil
$ dskutil list // List disks $ dskutil partitionDisk /dev/diskX 1 MBRFormat "MS-DOS" UEFI R // Format and partition a new space $ dskutil eject /dev/diskX // Eject the device - If you are working with a RPi4 with 4GB, you have to modify the config.txt file on the micro SD card:
echo "gpu_mem=16" >> /Volumes/UEFI/config.txt
- Define the firmware configuration values, use an adaptation of raspi-config to modify the actual parameters in use by the system:
- Go to Device manager, then to Raspberry Pi Configuration, the following parameters can be modified:
CPU Configuration Display Configuration Advanced Configuration SD/MMC Configuration Debugging Configuration - On CPU Configuration
- Modify Overclock
- On Display Configuration
- Modify resolution and external screens
- On Advanced Configuration
- Remove limit for 3GB of RAM
- Fan control
- On SD/MMC Configuration
- External SD MMC setup
- On Debugging Configuration
- Development options for debug
- Now you can install ESXi-Arm, using the USB prepare a new installer for the node, using win32 / rufus or diskutil, once you have the USB ready, connect it to the RPI, then you can go to Boot Manager and select the UEFI entry with the USB device id, press ENTER and will boot.
-
You can define a fixed size for the OS Data partition, with a kernel boot option called systemMediaSize with one of the following 4 values: min = 25GB, small = 55GB, default = 138GB, max = All the space available
-
An alternative but not suggested option it’s to use the following option: autoPartitionOSDataSize, E.g.: runweasel cdroomBoot autoPartitionOSDataSize=8192.
- Follow the wizard installer and configure according to your local requirements.

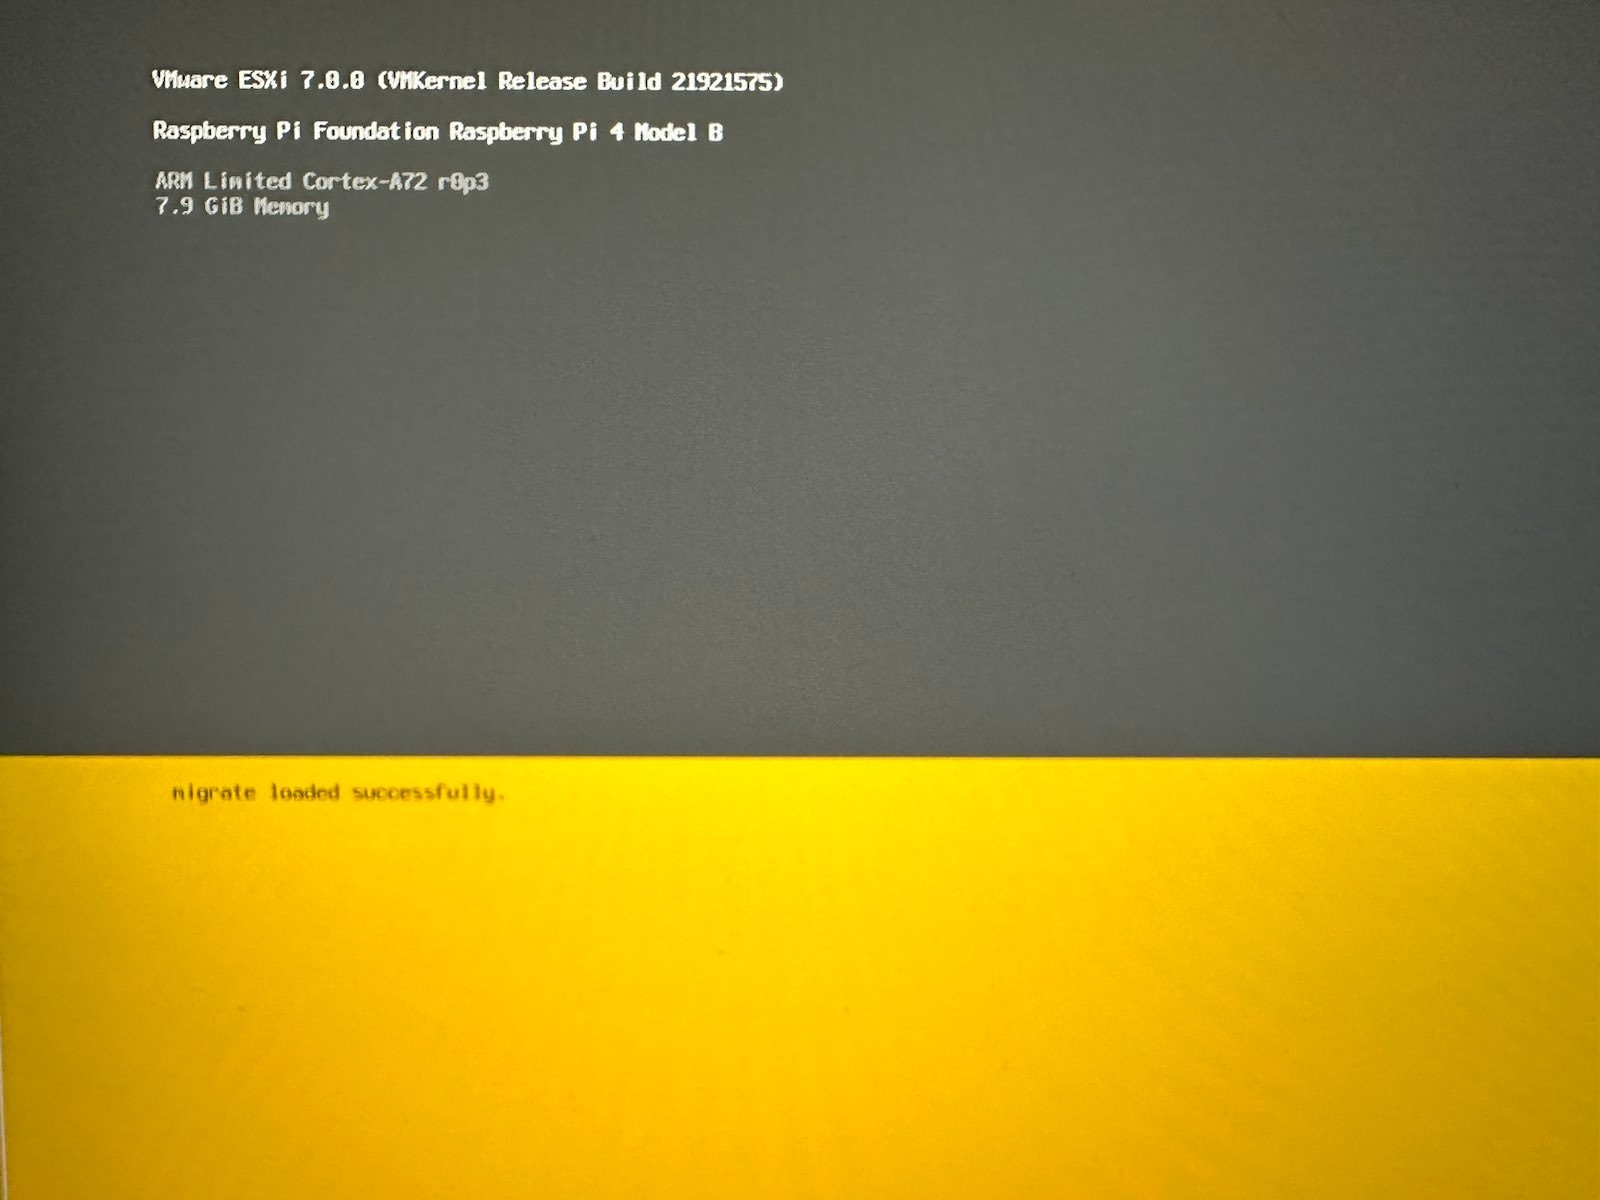
ESXi Installer last step
- Configure the storage that can be used using VSphere dashboard to monitor the ESXi, accessing the IP/Record assigned, create a new partition in the free space on the USB.
Cluster Setup
- Same process applies for all the nodes that will be part of the cluster, but, beyond that, the router/firewall hardware used to distribute and balance the traffic between the available nodes it’s fundamental to establish a proper network topology that can be escalated, so i’ll leave two options to follow as a security practice for monitoring and alerting any unwanted behavior:
Note: How to use these tools, that’s for another post, but if you are looking to have a general reference check the documentation or you can use the following rules from testmynids.org, they have a pubklic set of detection rules to use with Suricata or Snort. can be found here.
Once you have the IDS / IPS configured with the rules on the router, you can continue with the HA configuration steps, involves the creation of the data center, cluster and the assignation of ESXi nodes.
Conclusion
Hosting your own infrastructure could help you to understand more advanced concept related to network topology and systems architecture, can allow you to dig in deep details about the communication betweed each stage of the process for the kind of system that you are building, next will be a cluster using RHELS with microshift, an OpenShift adaptation for ARM processors.
References
- https://docs.vmware.com/es/VMware-vSphere/index.html
- https://docs.vmware.com/en/VMware-Telco-Cloud-Operations/1.4.0/config-guide-140/GUID-2295E269-8597-4F3F-81C6-D6C55AFF0870.html
- https://www.raspberrypi.com/products/raspberry-pi-4-model-b/